

Installing windows in a metal building is one of the most practical upgrades you can make to a commercial steel structure. Done right, it brings in natural light, improves airflow, reduces energy costs, and makes the space more comfortable for the people working inside. Done wrong, it leads to water leaks, rust, drafts, and repair bills that add up fast.
This guide covers how to install windows in a metal building properly, from planning and framing to flashing, trim details, and long-term maintenance.

Why Proper Window Installation Matters in Metal Buildings?
Steel buildings are built for strength, but thin metal wall panels are not forgiving when modifications are done carelessly. Cutting into a panel without proper planning can weaken the surrounding structure. Skipping reinforcement causes openings to shift over time. Poor sealing is one of the leading causes of water damage in commercial steel buildings.
In Minnesota, these risks are higher than most places. Freeze-thaw cycles put constant pressure on seals and flashing through every winter. Any gap in the window assembly will eventually allow moisture inside, and moisture in a steel building leads to rust, corrosion, and insulation damage that gets expensive fast. Getting the installation right from the start is the only way to avoid those problems.
New Build vs. Existing Metal Building
One of the most important decisions in metal building window installation happens before construction begins. If you are working on a new building, windows should be planned during the design phase. This allows the manufacturer to include pre-framed openings in the wall panels before they ship to the job site.
Pre-framed openings are engineered to align precisely with steel panel ribs, which means less cutting on site, a tighter fit, and better sealing from day one. For Butler pre-engineered buildings, this is the standard approach and it consistently outperforms cutting openings after the fact.
Adding windows to an existing metal building requires cutting into panels that are already in place, which takes more time and demands careful attention to structural integrity. The location of girts, x-bracing, and load-bearing members all affect where a window can go. Placing an opening too close to any of these elements can create problems that are difficult and costly to correct. Working with an experienced contractor is the right call for any retrofit project.
What to Check Before You Cut
Most problems in metal building window installations can be traced back to decisions that were skipped during planning. The first thing to review is your building’s structural drawings. These show where girts, purlins, x-bracing, and main support frames are located. Any window opening must work around these elements. Girt spacing on commercial steel buildings typically runs every five feet, and window placement has to align with that layout.
X-bracing is a consideration that often catches people off guard. If the wall section you want to use contains diagonal bracing, you cannot cut through it. The bracing may need to be relocated, and that requires input from a structural engineer. Butler and other manufacturers can often move bracing during the design phase if window placement is communicated early.
Local building codes and permit requirements in Minnesota also need to be reviewed before work starts. Commercial window installations typically require permits, and in some jurisdictions the work must be performed by a licensed contractor. Sorting this out before breaking ground saves time and avoids problems during inspections.
Choosing the Right Windows for a Metal Building
Not every window works well in a steel structure. Windows built for residential wood-frame construction are often a poor fit for metal buildings because they are not sized or sealed to work with metal panel profiles. Using the wrong window type makes proper sealing much harder and increases the risk of air and water infiltration over time.
Window Style Options
For commercial steel buildings, the most common options are fixed windows, sliding windows, and single or double-hung windows. Fixed windows are the simplest choice when ventilation is not a priority. They let in light and seal tightly. Sliding windows work well in workshops and industrial spaces where airflow matters but casement-style openings are impractical. Single and double-hung windows fit well in office areas where a more finished appearance is needed.
Frame Material and Glass Type
Frame material matters too. Vinyl frames offer good thermal performance and low maintenance, making them a solid choice for most commercial applications. Aluminum frames with thermal breaks are another common option in colder climates. The thermal break prevents heat transfer through the frame, which reduces condensation and energy loss during Minnesota winters. For glass, double-pane insulated units are the right choice for any heated commercial space in this climate.
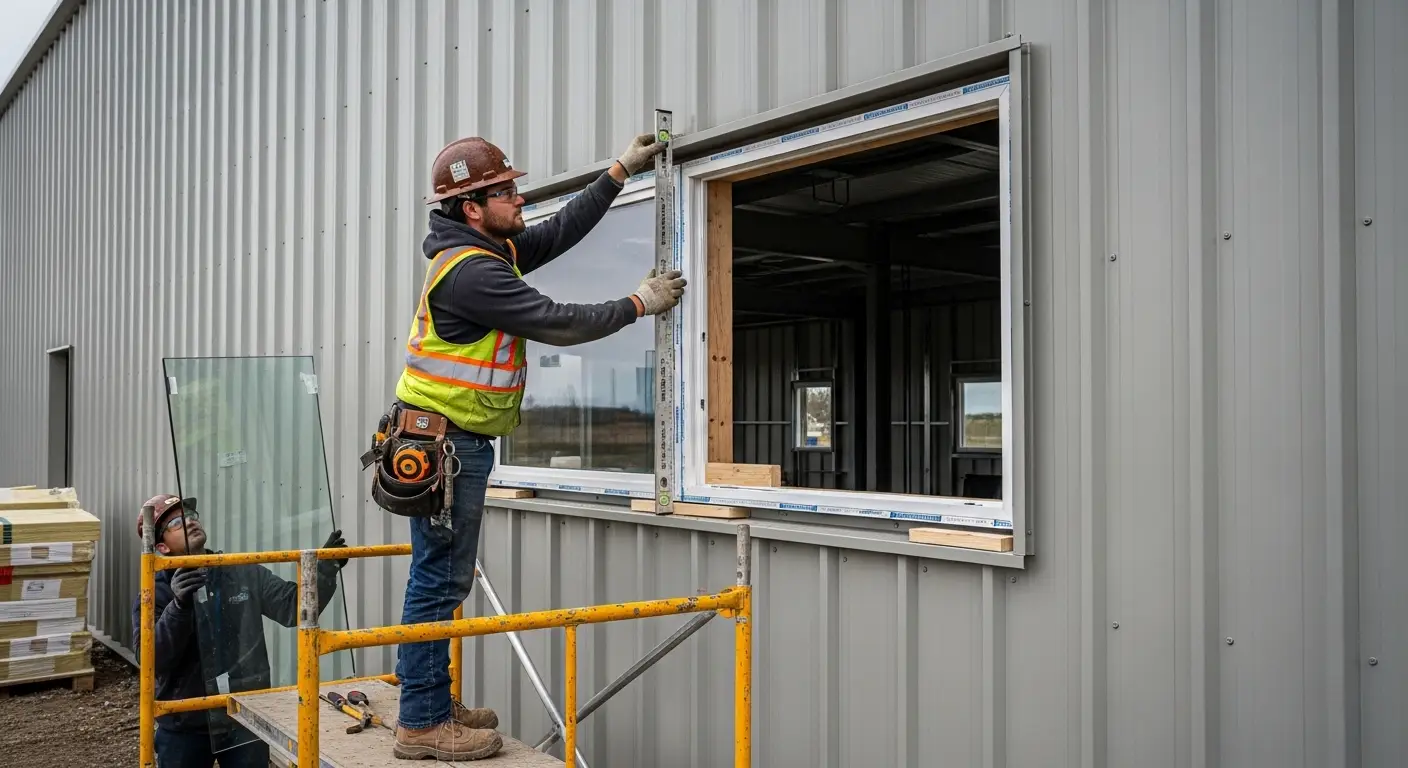
Framing the Opening
Proper framing is what gives a metal building window its structural support. Metal wall panels are not designed to carry window loads on their own. Every opening needs a frame built around it before the window goes in.
Structural Support Requirements
A standard window frame in a metal building includes a header across the top, a sill across the bottom, and jambs on both sides, typically built from steel or wood studs. The frame must be anchored securely to the building’s girt system to stay stable under wind load and thermal movement. For larger windows, a structural header is necessary to transfer load around the opening properly. Rough opening dimensions should allow approximately a quarter inch of clearance on all sides.
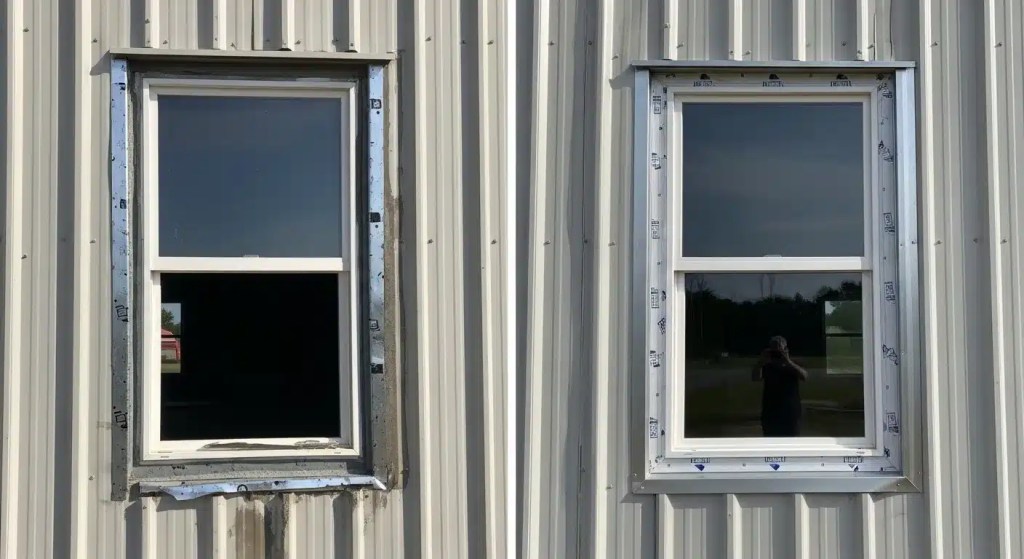
Metal Building Window Trim Details: Flashing, J-Channel, and Sealant
This is where most installations succeed or fail. The majority of leaks around metal building windows are not caused by a bad window. They are caused by bad flashing and sealing around it.
Flashing Sequence and Sill Pan
The flashing process starts at the sill. A sill pan should be installed at the bottom of the opening before the window goes in. It catches any water that gets past the window and directs it to the exterior. Self-adhered flashing tape then goes up the sides and across the top. The layering order matters. Each piece must overlap the one below it so water always runs outward, never back into the wall.
J-Channel and Sealant Application
J-channel is installed along the sides and bottom of the opening to receive the edges of the metal wall panels. When exterior panels are reinstalled around the window, they slide into the J-channel and create a tight, weather-resistant edge. Panels that are not seated correctly leave gaps that allow wind-driven rain to enter.
Butyl rubber tape and exterior-grade silicone caulk both have a role in a proper metal building window seal. Butyl tape is applied between the window frame and the rough framing during assembly. Silicone caulk seals the exterior perimeter after the window is set. Both must be applied to clean, dry surfaces. Sealant applied over dirt, rust, or moisture will not bond correctly and will fail early.
Common Mistakes to Avoid
Placing an opening too close to structural bracing or a column is one of the most serious mistakes in this type of work. It can compromise the load path in the wall and create long-term structural problems. Always verify the location against building drawings before cutting.
Using the wrong rough opening size causes problems at every stage after framing. A frame that is too tight makes the window hard to set correctly. A frame that is too loose makes sealing nearly impossible. Confirm rough opening dimensions against the manufacturer’s specifications before framing begins.
Rushing the flashing sequence causes more leaks than almost anything else. Flashing applied out of order or without correct overlaps allows water to travel behind the trim and into the wall cavity. In a steel building, that moisture has nowhere to go. It will eventually cause rust and insulation damage that is expensive to fix.
Maintenance Tips for Steel Building Windows
Sealant and caulking should be inspected annually. Over time, sealant shrinks or separates from the surface, especially in climates with large temperature swings. Deteriorated sealant should be replaced before water gets in. Flashing and trim should also be checked after each winter season, since ice and snow can stress trim pieces and open small gaps.
Window frames and tracks should be cleaned regularly. Operable windows should seal fully when closed. Any rust around window edges should be addressed right away. Surface rust near a window usually means water is getting in somewhere, and catching it early prevents the damage from spreading.
Cost of Installing Windows in a Metal Building
Costs vary based on window type, size, and whether the work is being done on a new build or an existing structure. Basic vinyl windows typically run between $300 and $800 per unit for materials. Professional installation, including framing, flashing, and trim work, generally adds $600 to $1,800 per window depending on complexity.
Installing windows during initial construction is almost always more cost-effective than retrofitting later. Pre-framed openings reduce on-site labor significantly and produce better results. For any new commercial steel building project in Minnesota, this is one area where early planning delivers real savings.
Contact Systems West Inc. today to discuss your project and get expert guidance on window installation that will hold up for the life of your building.
Conclusion
Installing windows in a metal building takes more than cutting a hole and dropping in a frame. Every step, from structural planning to flashing sequence to sealant selection, affects how the window performs over its full service life. Mistakes in any part of the process can lead to leaks, energy loss, and structural damage that costs far more to fix than to prevent.
Systems West Inc. has been building commercial steel structures in Minnesota for over 58 years. As a Butler builder, we plan window installations from the design phase forward, incorporating pre-framed openings, proper reinforcement, and complete weatherproofing into every project. Whether you are planning a new warehouse, workshop, office, or agricultural facility, our team handles every detail from the ground up.
Contact Systems West Inc. today to discuss your project and get expert guidance on window installation that will hold up for the life of your building.
Frequently Asked Questions
Can windows be added to an existing metal building?
Yes. It requires cutting into existing wall panels and adding proper framing, flashing, and sealing. The process is more involved than installing during construction, but it is done regularly on commercial buildings.
Do metal buildings require special windows?
Windows designed for steel construction fit better with metal panel profiles and are easier to seal correctly. Standard residential windows can sometimes be used but require more effort to fit and seal properly.
What is the best sealant for metal building windows?
Butyl rubber tape works well during assembly. Exterior-grade silicone caulk seals the perimeter after the window is set. Both must be applied to clean, dry surfaces to bond correctly.
Do I need a permit for window installation in Minnesota?
In most cases, yes. Commercial modifications including window installations typically require a building permit. Requirements vary by city and county, so check with your local building department before starting.
How far should a window be from structural bracing or a load-bearing column?
There is no fixed distance, but openings must never interfere with diagonal bracing or load-bearing columns. Always check your structural drawings before marking any location.